Monday, April 30, 2012

Stampin Fun & Friends Colour Challenge


Stampin Fun and Friends has started and we are into our first colour challenge.

It you haven't signed up yet we are only on Day 1 and you will still be able to take part. In fact our first chat is this evening at 9 PM, so get going. Just click the link to the right side of my blog to join in on the fun!


I decided to try a Flip Card. There have been lots of these posted lately on different sites. I followed the instructions on Dawn Griffith's site.

Once I had the card base and opening cut I used the same sized die to cut two pieces of the pink and then two of the white.  They were adhered to the opening hinge and stamped again with the sentiments.

Using Composer's Dream stamp I stamped the background image on both the left and right side of the card.  As luck would have it when the card is closed the music follows right along the card as if it was printed on the paper itself.  Then I sponged using the same colour all around the page.

For the inside of the flip I used "Outlined Occasions" and stamped over the die cut piece and then put a plain white centre to write my greeting.

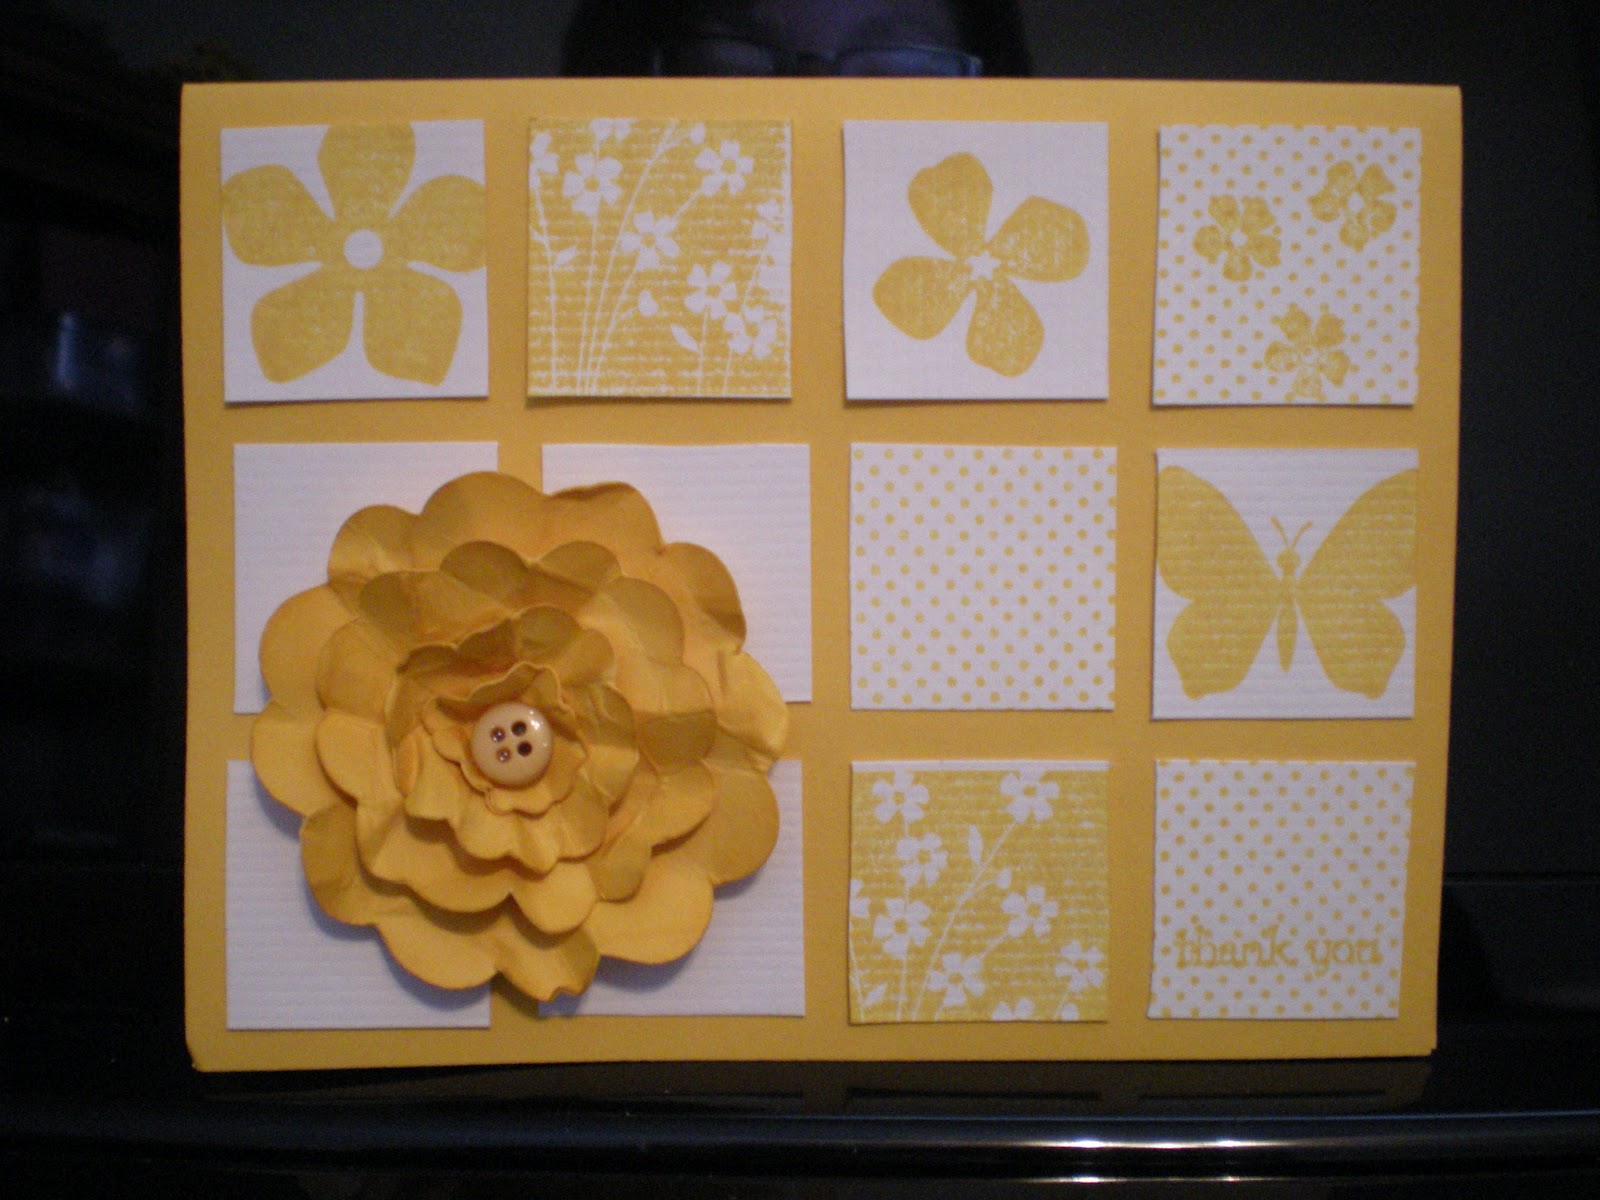
Yellow accents were used by placing a pin with yellow beads through a white organza ribbon.

Don't forget your envelop.  By stamping on the outside of the envelop as well it gives the person receiving the card a hint as to what is on the inside, plus they will surely know who it is from.

Fun challenge, now it's your turn.  

Hope you enjoy!

Nancy

I like to hear what you think so please leave me a comment

Masculine Monday 30/04/12


It's Monday Morning again and I have a birthday card to show you today using once again Sense of Time.  It is such a shame that this set was discontinued.  I think  this was one of the very first SU stamp sets that I purchased and it probably gets ten times more use than any other set that I own.
I started with a black base and layered on Chocolate Chip CS 1/8" smaller all the way around. Then I used Very Vanilla 1/4" smaller all the way around. I distressed the edges all the way around and tore small "V" shaped openings on either side of the CS. The clock and gear images were stamped in Chocolate chip, then I crumpled it up slightly and then laid it out flat. With Soft Suede I used the ink pad directly onto the CS and the areas that were creased picked up the ink. The cogs were punched from Chocolate Chip CS and adhered to the front of the card. Using the round tab punch I first stamped the birthday greeting and then accented it with a cog on either end. Twine was wrapped around the top layer of the card and through the two smaller cogs.
The inside of the card was done basically the same way but only using the gear stamp and then a greeting from Cloud 9 Design Simple Thoughts-Happy Birthday.

The envelop was stamped on the outside with the gears as well.

Hope you enjoy!

Nancy

I like to hear what you think, so please leave me a comment.

Friday, April 27, 2012

Stampin Fun & Friends Count Down Repost

Yes the count down is on for Stampin Fun & Friends Mothers and Fathers.

This session starts on April 30th, that's just six days away, so it is time to break open those piggy banks and join in on the fun.

There are lots of great projects, and yes I have seen a few that you will really want to get the instructions for.  Don't forget those instructions are only available to you if you register!  We also have chat nights and challenges.

Just to make it a little more interesting, I am offering a pass to this session.  All you have to do is leave a comment letting me know that you are a follower to my blog and also what you enjoy or would like to see from my blog.  I will be selecting a winner on Saturday, April 28th.

I will be watching for you.

Nancy


Wednesday, April 25, 2012

Great News and a Liebster Award

Today was a special day for both my daughter and I.  My daughter Ashley has just completed her second semester of Dental Hygiene once again with Honours.  This girl works very hard for everything she get and we could not be more pleased for her. 


Secondly, a huge and heartfelt thank you to CherylAnn at CherylAnn's Stamping Spot for giving me the 
What is the Liebster Award?


Well . . . Some time (in the recent past), somewhere (rumor has it that it might be Germany), someone (I guessing he/she was named Liebster) decided to do something nice for a whole lot of bloggers and started the Liebster Blog Award. It’s an award you receive, but it is also an award that you give.If you receive a Liebster Blog Award you are asked to choose 3-5 other bloggers and send them one as well. It is an award meant to highlight smaller blogs - less than 200 followers. Let them know that we care and are reading. The idea is that the blogger receiving the award links back to the blogger who awarded him/her, and then chooses 3-5 people to send the award to. There is no obligation to continue this award. I just thought it was a lovely way to share the love.


Here are the blogs I would like to pass the love on to:
Regina Andari - workinouttheinks.blogspot.ca
Tanya Bell -  www.stampint.com.au/blog/
Chris Galbraith - chrisgalbraithcreations.blogspot.ca


I encourage everyone to visit these blogs and let the talented ladies know how special they are!
Nancy

Let's Celebrate


Mojo Monday had a sketch challenge this week, that was very much like a card that I had made a few years ago.


I dug through my photo archive and found that picture (the yellow card).  I think when I made this card the squares were 1".

Then I decided to recreate that same card over again and this is what I came up with this time.

This is a fun and quick card to make, the only issue is figuring out your square size.  Mine is 1 1/4" square.  So of the two cards which one do you like best?

Hope you enjoy this card.

Nancy

I like to hear what you think, so please leave me a comment.

Tuesday, April 24, 2012

TST #63 Hootie the Owl

Where oh where does the time go.  Another week has gone and we are back into challenge #63 at Try Stampin on Tuesday.

I thought this week I would try something a little different. This could be more of a children's card or a masculine card.


I know my interpretation of the card is stretching the sketch a little but that is what these challenges are for.  Get you imagination thinking outside the box, or in this case outside the tree trunk!

I knew I wanted to use my Owl Punch from SU and thought the best way to show it off would be to build a tree.

I started by cutting my base using craft cardstock to form a 4 1/4" x 5 1/2" card. Using my woodgrain embossing folder I inked up the inside of the folder. I tore a strip of the darker brown CS which gave the illusion of the outside of the tree trunk. Ran it through the Cuttlebug and the ink transferred to the CS.  I then "lightly" ran the Chocolate Chip ink pad over the raised portion of the embossed image  This gave it a more mottled look.  My second piece of torn CS formed the branch and I repeated the same process.

After the branches were adhered to the card base I punched a hold using the 2" scallop circle punch. Then the Two Step Bird Punch was used to punch out several of the leaves to be placed both on the outside and the inside of the card. My owl was punched and assembled and adhered to the inside of the card using dimensionals. A simple greeting was stamped on the inside and the top corner was rounded.

I hope you like my interpretation of the sketch this week.

Nancy

I like to hear what you think so please leave me a comment.

Monday, April 23, 2012

Masculine Monday 23/04/12

Good Monday Morning to you.  Today's Masculine Monday card uses a new technique for me.  Ink embossing.  I have seen this done on several cards before and was always afraid of ruining my embossing folders with the ink, but I have found that it is very easy to remove and I am having a blast with it.

I started with a manilla tag from Staples, but you can easily cut your own tag.  I used Soft Suede on the inside portion of the embossing folder and ran it through the Cuttlebug.  Once that was done I accented it with Marina Mist and Old Olive to give an aged look then sponged the edges again with the Soft Suede.  This piece was mounted onto a piece of brown CS 1/8" larger than the tag.

My card base was a piece of grey CS.  My final layer was a piece of CS that I made with my MDS program and it again was cut  to 4" x 5 1/4" and mounted again on a piece of brown CS cut  to 4 1/8" x 5 3/8".  The edges were sponged using the Soft Suede.

The large clock from Sense of Time was stamped to the side and the tag was placed on top using dimensionals.  My sentiment was stamped and the ends were punched using the Round Tab Punch and then again mounted on a piece of brown cut slightly larger.  The cogs were punched from brown CS but before punching them I sponged the CS with the Marina Mist and the Old Olive to give a more aged look.  These were then adhered to the front of the card.

I really enjoyed the embossing technique and the finished product actually looked metallic.

I hope you enjoy todays card.

Nancy

I like to hear what you think so please leave me a comment.

Wednesday, April 18, 2012

Butterfly Kisses and Birthday Wishes


I needed a simple but elegant birthday card  and decided to give the Mojo Monday sketch challenge a try. 

I started off with a Whisper White 4 1/4" x 11" and folded to form a landscape card. Then cut a piece of Whistera Wonder 4 1/8" x 5 1/4" and embossed it.  A third layer was added measuring 2 1/4" x 5 3/8".  This layer hangs over the embossed layer by just a touch.  Then again another piece of Whisper White was cut 2 1/8" x 5 1/4".  I purposely punched the holes so that they appeared to fall off the white and then ran this piece though the embosser.  

Now with the base of the card done I used my SU Beautiful Wings embosslit and punched out three(3) sets of butterflies.  Folding two of the butterflies in half I then attached them to the third butterfly.  The third butterfly became the top layer.  By doing this it makes the butterfly look like it is floating on the page.  Each of them was adhered to the punched opening and accented with a pearl.  

Odd numbers are the way for decorating so I used the remaining three tiny butterflies to turn the four larger ones into a total of seven on the card front.  Added a simple "birthday wishes" and ready for the birthday girl! 
I hope you enjoy my interpretation of this sketch challenge.  

Nancy

I like to hear what you think, so please leave a comment.


Tuesday, April 17, 2012

TST #62 Congratulations Sam and Doug!

Todays Try Stampin on Tuesday card is in honour of my Daughters friend Samantha and her now Fiance Doug.  They have been going together now since the end of high school and this past weekend finally made it official.

When I was putting together the card I asked my Daughter what stamp set I should use.  I gave her a variety of options and she went with the "Congratulations" from the Sprinkled Expressions.  She said it was so much like Doug - "He Finally Did It!".


Congratulations Sam and Doug.  We are all very happy for you!

Now it's your turn.  Show me what you can do and tell me who your card is for.

Hope you enjoy!

Nancy

I like to know what you think so please leave me a comment.

Monday, April 16, 2012

Masculine Monday 16/04/12 SSC#251

Good Monday morning to everyone.  I know we would all rather it be Friday already but we have to start the week somewhere.  Just think four more days to the weekend.

I have combined my Masculine Monday card today with a sketch challenge at Stamping 411.

My version works with all plain card stock and each piece is stamped to form the background.  This is mainly due to the fact that I love this stamp set, but I don't have any corresponding DSP to go with it, so I tend to create my own.

The card was created all with scraps except for the card base.

I started with a piece of More Mustard CS and cut it to 2 3/4"x4 1/4" and stamped it with the words stamp from French Foliage. I then sponged around the edges of that piece and placed it on the card front.

Then with a piece of Old Olive 1 1/4"x4" stamped it with the water marks part of the same set with Real Red.  I then sponged the edges in the red as well.

A strip of More Mustard ribbon was placed around that piece and then it was adhered to the card front.

The final piece was from a piece of 2 3/4"3" of Very Vanilla.  By "rock and rolling" the oak leave stamp I stamped off two of the More Mustard and Old Olive leaves and then stamped two Real Red leaves in the opposite direction.  The edges were then rubbed with More Mustard and the word stamp was stamped twice over the middle of the piece.  Three small postage stamps were placed randomly and stamped in Old Olive. This piece was adhered to the card front with dimensionals.

Lastly I rock and rolled a single oak leave with Real Red and Old Olive and rubbed it with More Mustard.  Cut it out and wrinkled it up before placing it on the card front.

I hope that you like what I have come up with.

Nancy

I like to hear what you think so please leave a comment.


Friday, April 13, 2012

Masculine Monday 9/4/12 A Little Late

Sorry for the delay in my Masculine Monday card this week.  I was not even sure that I was going to post anything at all this week.  I base my cards on two things:  1. bringing joy to myself in the creation portion and 2.  bringing joy to the recipient.

Unfortunately this week I found out that a card I had made for someone was not appreciated and this really hurt me deeply.  It really made me think twice about wanting to creat anything further. Because I stopped stamping for a few days I managed to miss a few challenges that I would have otherwise looked at and possibly tried.  One of them is Freshly Made Sketches, so this was the Masculine card that I have come up with to go along with their sketch even though I didn't get it done in time.


The inside of the card holds a gift card.

I hope you enjoy it.

Nancy

I like to hear what you think so please leave me a comment.

Thursday, April 12, 2012

Stampin Fun and Friends Mothers and Fathers

Mothers Day and Fathers Day are just around the corner.  Time to put on your Craft Cap and join in on the fun over at Stampin Fun and Friends.  Our next session kicks off April 30th and we want you there.  Here are a few of the past projects that we have made.

Early Bird Registration is going on now via paypal for $17 before April 15.    We have 15 projects for you along with chats and challenges.

See you there.

Nancy

Tuesday, April 10, 2012

TST #61 Mistakes Gone Right!

Good morning and thanks for stopping by again today. Once again Jen has come up with a great sketch challenge on Try Stampin on Tuesday.  I hope that you will give it a try.

I knew as soon as I saw this sketch which paper I wanted to use and who my card would be for.  I'm sure it will bring a smile to her face once she sees it.

The background paper has a very soft design to it.  I sponged the edges and then spritzed it with water and crinkled it up.  As an afterthought I shouldn't have spritzed the paper as it didn't turn out in the distressed fashion that I wanted, but I rolled with it and moved on.  I did the same with the smaller piece as well, just to keep the continuity in my mistake!  The flower consists of 3 solid pink and 1 designer paper punched from the Blossom Punch.  A brad was secured in the centre and from there I spritzed each layer, one at a time and scrunched them up to form the flower.  By using the water to spritz and form the flower your flower will become ridged once it dries.

I made a slight stamping boo boo when I was stamping the sentiment and had to turn the paper around so now the boo boo is under the flower.  However because you could still see the boo boo I punched out another flower in Whisper White and adhered it under the ribbon as a base for the scrunched flower to sit on.  Boo boo gone!  No one knows but us.....Shhhh!


Now for the fun part.  How do you put a card with a very stiff flower into an envelop? You punch out a hole in the envelop!  I took my envelop and cut off the back flap. Then I decided where the flower was going to sit on the front of the card and marked it.  Taking my punch I inserted the punch very carefully inside the envelop pouch and punched the hole.  Stamping the front of the card with my French Script and highlighting the opening with my pink ink.

Using the designer paper from the card I cut a flap that I then attached just inside the envelop and rounded the corners and sponged the edges as well.  Now when you insert your card the flower will pop out through the opening and adds a extra touch to both your card and the envelop.

So you see even though I had made a couple of mistakes (in my opinion) the card came out just fine and only we know the truth! 

Hope you enjoy!  Now it's your turn.  Show me what you got and don't forget to post your entries on the Try Stampin website.  I will be watching for them.

Nancy

I want to know what you think, so please leave me a comment!

Tuesday, April 3, 2012

TST #60 Thinking of You


I am so happy with the sketch challenges that we are getting at Try Stampin on Tuesday.  Jen has been working really hard at these sketches and each week she manages to come up with another great challenge.

This week my card is made for a very special person.  A while back a co-worker retired and moved away. Unfortunately retirement has not been kind to her or her family.  Her husband was admitted last week to hospital for a very invasive surgery. Our thoughts and prayers go out to her and her family with this Thinking of You card.
I knew as soon as I saw the sketch I wanted a soft elegance to my card so I started with a Whisper White base and then blended in a light shade of violet. The printed paper was faux stitched around the edges. Vintage Vogue was used to stamp on the front of the embossed label along with So Happy for You. After cutting out the tag using my Spellbinder Five Label Nestibilities I cut out an additional two of the violet and mounted them on to the back of the stamped and embossed front.  The label was raised using dimensionals  and the card was finished off with three small half pearls in the corner.

Yes we are all Thinking of You and hope for the very best!

Hope you enjoy!

Nancy

I like to hear what you think, so please leave me a comment.

Monday, April 2, 2012

Masculine Monday 02/04/2012 & Challenge

So I was a little late putting together my Masculine Monday card this week and thought that I would combine a Sketch Challenge and my Masculine card together to kill two birds with one stone.  I found this sketch over at Freshly Made Sketches and decided to go with it.

It is also going to be my Son's Birthday on Tuesday and it will be his first birthday with a new Son of his own so I thought I would give my Grandson Edwin, a helping hand at a card for his Dad.
Edwin I think we did a Great job for your first attempt at Card Making.  
I think we will make a great team in the future
I hope you enjoy!

Nancy

I like to hear what you think so please leave me a comment.