Showing posts with label Round Tab Punch. Show all posts

Tuesday, September 3, 2013

TST #134 In Session...

That's right Class is in Session!  It's the most wonderful time of the year for Mothers everywhere.  Time to have you home back to yourself, for those who are stay at home Mom's and time to be able to finish that morning coffee.....before it gets cold!

We are into a new school year and something a little different at Try Stampin on Tuesday.  The Design Team has been split into two different Teams.  We will post on alternate weeks, although we can still make cards for the weeks that we are not scheduled.  We also have some new members to the group and I think that you will find their talent is amazing.

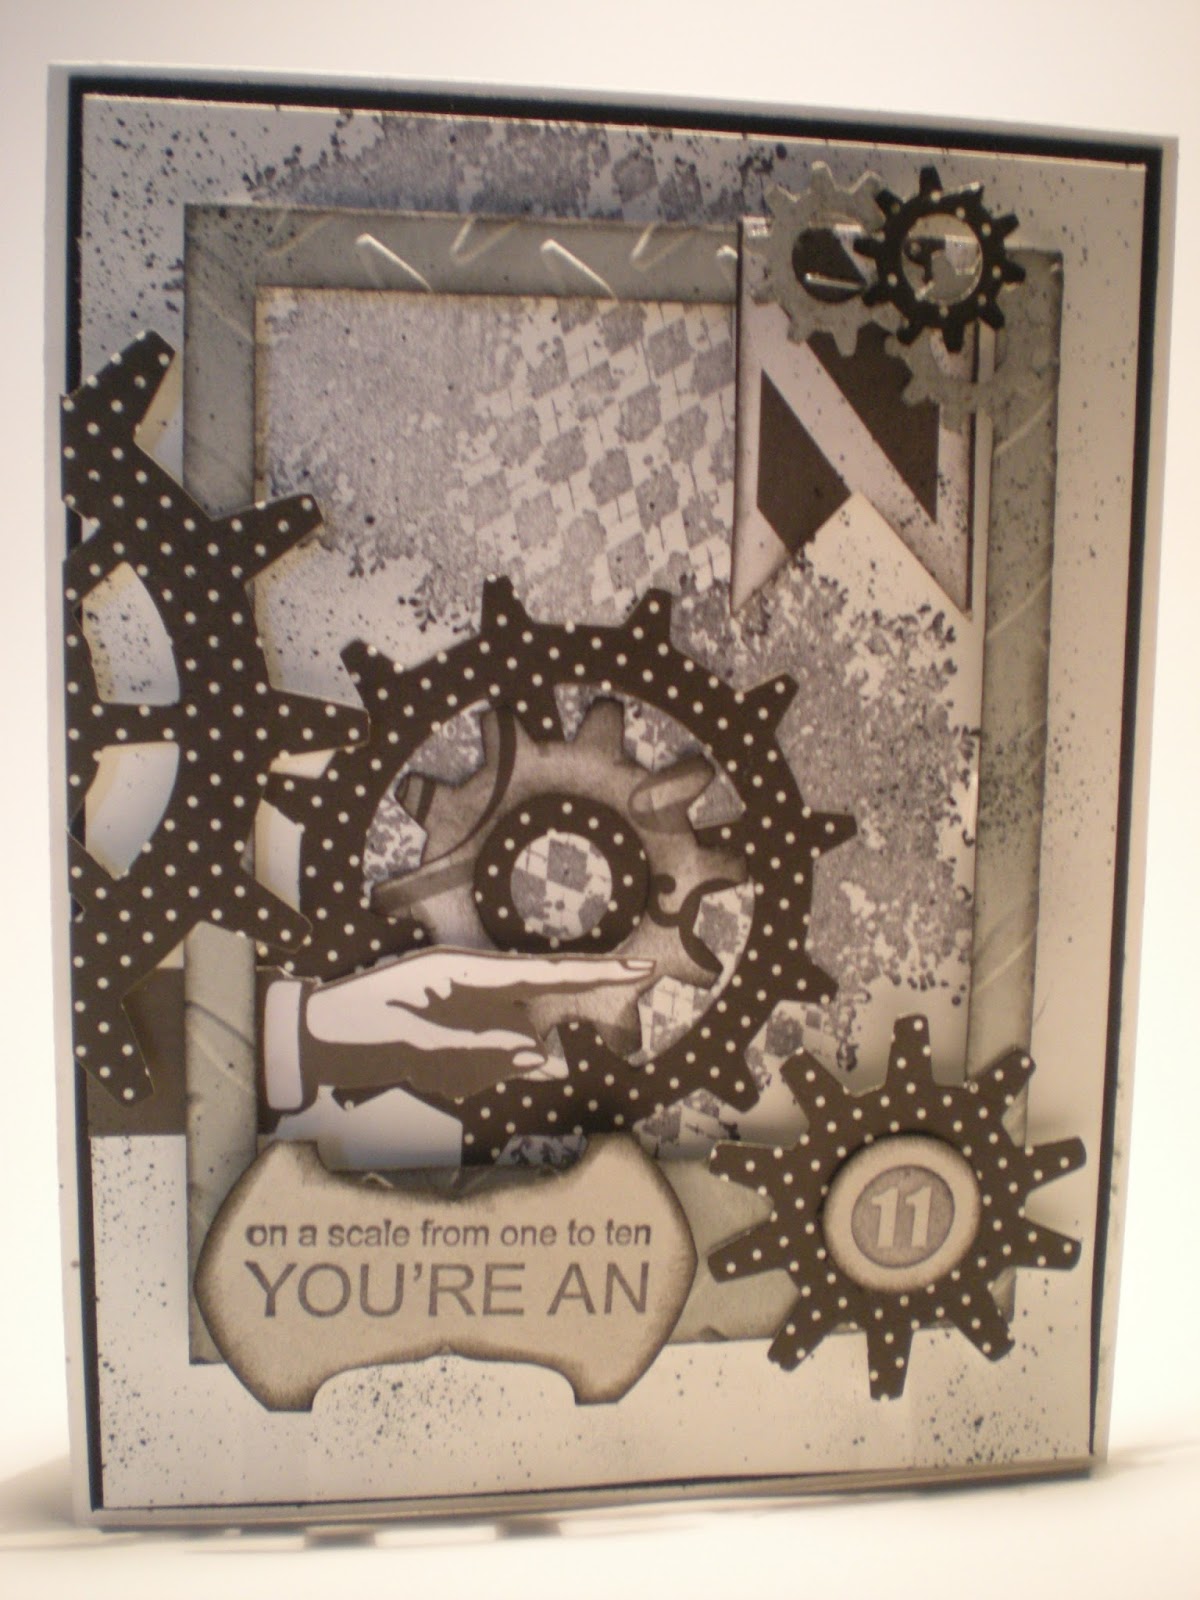
Today's sketch at Try Stampin on Tuesday is dedicated to Back to School with a little twist...the use of metal or metallic colour (silver, gold, bronze).
I decided to take a little different approach to the rainbow on the sketch and use it as separations in a binder.  
I managed to find some DSP that looked like notebook paper and used that as part of my background and then using a paper edge punch I created a notebook and then with the round tab punch I made the notebook look like it had subject tabs.

It's a bit of a stretch for the sketch, but I think it still works.  What do you think?

Need more inspiration?  Hop on over to the Try Stampin site and see what the others have in store for you.

Thanks for stopping by.

Nancy

Your comments mean a lot to me so please remember to leave one.  


Tuesday, July 30, 2013

TST #129

Time once again for Try Stampin on Tuesday.  Today we have a sketch for you that offers a lot of suggestions.  
When I first saw this sketch I thought iphone.  You could certainly make a great tween card using the icons for the iphones.  However I needed a card for my daughter to give to her boyfriend. Since her recent surgery on her hand she has been unable to do much on her own because it is her right hand.  So now we have a Sergeant in the army not only preparing all the meals and cleaning the house he is now in charge of hair duty.  Trust me she says he does a much better job defending our country than simple pony tail duty.  We love him anyway!
Using a black grey and white theme I started by cutting out the grey centre piece and running it through the Diamond Plate embossing folder.  Then with simple DSP I ran that through the Gadget Gears die.  I had a piece of DSP from the Dollar Store that had a chevron and the hand on the same piece so I cut those out.  I stamped the white CS using the Clockworks stamp and then using my spritzing tool I spritzed the entire card.
The cut outs were layered onto the card using dimensionals and then stamped out the sentiment and used the Round Tab punch to cut it out.  I reinserted this cut out one again and made a second punch to make the tab a little smaller.  Then I stamped out the "11" on a separate piece of CS.
I added three smaller cogs in the upper right corner along with a flag - kind of a "I surrender" touch just for my daughter.  She thinks that she can do it all but has quickly found out that through all of this she needs her family around her to help her get through it.  

I am also happy to report that her Teachers at College have gone to bat for her (bad choice of words since she broke her thumb playing baseball) and the Dean will allow her to continue so that she will be able to complete her Dental Hygiene studies on time.  Dedication and good work ethics have certainly paid off for her and her Teachers have taken this into consideration when fighting for her.  Very proud of her. 

So what to you see when you look at the sketch?  Need more inspiration?  Hop on over to the Try Stampin site and see what the other great designers have in store for you.  You will not be disappointed.  Don't forget to post your creation for all of us to see.

Thanks for stopping by.

Nancy

Your comments mean a lot to me so please remember to leave one.

Tuesday, October 9, 2012

TST #87


First off I would like to wish all my Canadian Friends out there a Happy Thanksgiving. I know my household had a lot to be thankful for this year and it was great to have everyone around the dinner table to celebrate it together.  Now onto business....

It's Tuesday, so once again we are back with another great Try Stampin on Tuesday sketch.
With the Canadian Thanksgiving just happening I thought I would give the feather another try.  I really love this stamp set and the way you can use your markers to colour the feathers rather than just the stamp pad itself.  Here I used Concord Crush and Lucky Limeaid to create the colours in the feathers.
Then using my punches I created a backdrop for the smaller feather and adhered them to a strip of CS with dimensionals.
I hope that you all had a great Thanksgiving, for those that celebrated it, and will give this sketch a try.  Don't forget to post your card for all of us to admire.

Thanks for stopping by.

Nancy

Your comments mean a lot, so please don't forget to leave one.


Monday, August 13, 2012

Masculine Monday

Ok so I am confessing before I get into my blog today that the card I am showing you was made a while back.  The past week has been filled with family issues and I just have not had time to stamp so please forgive me.
This is an Aperture card I made for my Hubby last year.  I never get tired of using Sense of Time and the combination of this stamp set and the Cog punch just automatically go together.

Thanks for stopping by.

Life Happens...Stamping Helps!

Nancy

Your comments mean a lot to me so please remember to leave one.

Monday, April 30, 2012

Masculine Monday 30/04/12


It's Monday Morning again and I have a birthday card to show you today using once again Sense of Time.  It is such a shame that this set was discontinued.  I think  this was one of the very first SU stamp sets that I purchased and it probably gets ten times more use than any other set that I own.
I started with a black base and layered on Chocolate Chip CS 1/8" smaller all the way around. Then I used Very Vanilla 1/4" smaller all the way around. I distressed the edges all the way around and tore small "V" shaped openings on either side of the CS. The clock and gear images were stamped in Chocolate chip, then I crumpled it up slightly and then laid it out flat. With Soft Suede I used the ink pad directly onto the CS and the areas that were creased picked up the ink. The cogs were punched from Chocolate Chip CS and adhered to the front of the card. Using the round tab punch I first stamped the birthday greeting and then accented it with a cog on either end. Twine was wrapped around the top layer of the card and through the two smaller cogs.
The inside of the card was done basically the same way but only using the gear stamp and then a greeting from Cloud 9 Design Simple Thoughts-Happy Birthday.

The envelop was stamped on the outside with the gears as well.

Hope you enjoy!

Nancy

I like to hear what you think, so please leave me a comment.

Monday, April 23, 2012

Masculine Monday 23/04/12

Good Monday Morning to you.  Today's Masculine Monday card uses a new technique for me.  Ink embossing.  I have seen this done on several cards before and was always afraid of ruining my embossing folders with the ink, but I have found that it is very easy to remove and I am having a blast with it.

I started with a manilla tag from Staples, but you can easily cut your own tag.  I used Soft Suede on the inside portion of the embossing folder and ran it through the Cuttlebug.  Once that was done I accented it with Marina Mist and Old Olive to give an aged look then sponged the edges again with the Soft Suede.  This piece was mounted onto a piece of brown CS 1/8" larger than the tag.

My card base was a piece of grey CS.  My final layer was a piece of CS that I made with my MDS program and it again was cut  to 4" x 5 1/4" and mounted again on a piece of brown CS cut  to 4 1/8" x 5 3/8".  The edges were sponged using the Soft Suede.

The large clock from Sense of Time was stamped to the side and the tag was placed on top using dimensionals.  My sentiment was stamped and the ends were punched using the Round Tab Punch and then again mounted on a piece of brown cut slightly larger.  The cogs were punched from brown CS but before punching them I sponged the CS with the Marina Mist and the Old Olive to give a more aged look.  These were then adhered to the front of the card.

I really enjoyed the embossing technique and the finished product actually looked metallic.

I hope you enjoy todays card.

Nancy

I like to hear what you think so please leave me a comment.

Saturday, February 11, 2012

Getting Organized

Before Oraganizations Began


If you haven't joined in on the fun over at Stampin Fun and Friends you're missing the great projects and tutorials along with the friendly chats this past two weeks.  One of my tutorials was this one, which believe me the picture of my office desk before I started is accurate.    Included in the projects were a Desk Pad, Storage Box, Note Pad Holder and a Binder to keep project designs or bills in.  If you like what you see here consider joining in next time.

After Organization


Believe it or not I have also been able to keep my office working space clean and organized since coming up with these projects.

Martha Stewart eat your heart out!

Hope you enjoy...see you at the next Stampin Fun and Friends get together!

Nancy