Showing posts with label So Happy For You. Show all posts

Monday, April 21, 2014

HOC C&S April Sketch Challenge

Another sketch challenge for you over at House of Cards.  This is another one of those sketches that can be used over and over.
With this sketch I decided to try a watercolour technique that is hitting the blogs these days.  I had seen somewhere that someone had used soap, water and colour and blew bubbles to make their own paper, but for the life of me I just couldn't find it when I wanted to.  So I reverted to the old parchment paper and blotted the ink onto the paper and then spritzed it with water.

Also rather than making my card a single layer, which is the true definition of Clean and Simple, I decided to layer it a little, but keeping the overall look simple.
Using the Tim Holtz Branch Die I die cut the branch and lightly sponged it and placed it behind and around the watercolour paper.  Hoping that this would look like coral!
Then using By the Seashore I stamped out the star fish, then cut and shaped it to give it a little bit of definition.

I love how the watercolour paper turned out and when I looked at it I could remember the great colours of the Gulf when we were in Florida this year.  

Hope you like what I have come up with.  Now it's your turn.  Lets see what you have up your sleeve for this great sketch and don't forget to post it so we can all have a look see!

Thanks for stoping by.

Nancy

Your comments mean a lot to me so please remember to leave one.


Monday, September 30, 2013

HOC C&S Photo Inspiration

House of Cards has a great photo inspiration for you this week, and this week we are showcasing the Clean and Simple style.
 http://blogs.mydevstaging.com/blogs/centsational-style/files/2012/09/autumn-branch-centerpiece-bhg.jpg
I had a lot of hit and misses with this one.  I think I was just trying to think too much while trying to come up with an idea.  Making it too complicated for myself, which is not what Clean and Simple is all about.  Then it hit me.....
Voila!  Just use the colours given and pick what you see that inspires you.  I see the table as clutter, although it is a nice place setting.  The simple aspect is the branch of leaves.  

I started by using the Daffodil Delight and then adding the Real Red to the stamp.  Misted the stamp and then stamped it onto my cardstock.  Simple!  By misting the stamp you remove the hard lines that the red leaves and the two colours blend together.  Then taking my Old Olive I stamped the second of this two part stamp set and stamped the veins.  I wanted to focus on the leaf itself so using a Post-it I cut out a mask and placed it over the leaf.  Again using Old Olive I freehanded the border.  The sentiment was stamped in two sections using the So Happy for You set.  Finished it off with a twine bow and there you have it......
 
A Clean and Simple card.  The finished product took less than 5 minutes to make.  The thinking too much part took much, much longer.

Need more Clean and Simple inspiration then hop on over to House of Cards and see what the rest of the Clean and Simple Team have in store for you.  

The moral of this card is DO NOT OVER THINK!

Thanks for stopping by.

Nancy

Your comments mean a lot to me so please remember to leave one.

Monday, September 9, 2013

HOC Clean & Simple Colour Challenge

This month at House of Cards, we have a colour challenge for you.  Pick any three colours from the colours given to create your project or card.
vintage hues
I decided to go with Rich Razzleberry, a light purple from Martha Stewart and Marina Mist, although the colour once I looked at it again was more on the blue purple side but the Marina Mist worked just as well.
I started with the Rich Razzleberry and a bit of an experiment.  I used drywall tape and inked it up then using a brayer I stamped it onto the CS.  This gave the grid appearance from the one saucer.  Then using the light purple I took a piece of masking tape and inked it up and stamped it to again accent the grid from the saucer.  My final stamp was to incorporate the flowers.  I decided to go with Fabulous Florets and stamped the middle flower first then masking it off I stamped the other two flowers using Marina Mist.  My final stamp was the "birthday wishes" from So Happy For You.  Now this card could be used in either the portrait or landscape style, but I chose to use the portrait.
I hope you like what I have come up with and I have had a sneak peek at the other great Designers and they have some fabulous ideas for you as well.  Make sure that you check out their take on the colour challenge. 

Thanks for stopping by.

Nancy

Your comments mean a lot to me so please remember to leave one.  

Tuesday, July 23, 2013

TST #128

So this week I made sure that I had my card done on time for the Try Stampin on Tuesday challenge.

This past month has been crazy for me.  We are trying to clean up my Dad's home, since we now have him in a safe environment and we know that all of his needs are being looked after.  Just when I thought things would get back to normal (if there is such a thing!) my daughter sustained an avulsion fracture of her right thumb along with a ligament tear.  She was scheduled for surgery last Monday, but during the examination when the plastic surgeon saw her she manipulated the thumb and more damage was done. Her surgery had to be put off until later in the week.  This probably wouldn't be so bad but she is in the final stages of her Dental Hygiene Program at college and she will now be in a cast for up to eight weeks and unable to complete some of her clinical studies.  Lucky for her that she has a great faculty team to work with.  She will have to go before the Dean to plead a case so that she will not lose her final year, but her instructors are going to bat for her because she has completed more work than a lot of the other students along with more complicated cases.  Having Dean's list marks since she started college helps as well. Fingers Crossed! just don't use the broken one!!!

On to this weeks challenge.  When I first saw the sketch for this week I thought Christmas card. Mainly because it has been so hot out and the little accents in the bottom left corner looked like snowflakes.  But I decided to go French Foliage all the way.
I went with a more non conventional colour using Marina Mist for my card base. Then with a pale grey CS I stamped the splash marks from French Foliage all over it. I had ribbon from the Dollar Store that matched the colours perfectly.
Then with the Apothecary Accents die I cut out the shape and stamped it using the words and the postage mark from French Foliage.  With Soft Suede and Marina Mist I used the rock and roll method and stamped out 3 leaves and then individually cut them out.  The sentiment was accented with more of the same ribbon and then the whole card was finished off with a little Bling!
I hope you like what I have come up with.  Now it's your turn.  Need more inspiration, then hop on over to the Try Stampin Site and see what the other great designers have in store for you.

Thanks for stopping by.

Nancy

Your comments mean a lot to me so please remember to leave one!

Tuesday, June 25, 2013

TST #124 Seawall Inspiration

Life has been so busy this past week I just can't seem to find time for myself.  That dreaded four letter word "WORK" keeps getting in the way, but I have to support my addiction to card making!

This week at Try Stampin on Tuesday, our sketch lends itself to so many ideas.
I decided to turn the sketch and make a landscape card in a Clean and Simple form.
While we were in Florida we had the opportunity to collect these seashells just off the seawall from my Brother's place.  Each morning there were several that had washed up and were empty. The one in the picture was one of the smaller ones.  A little bit of scrubbing and they cleaned up well.
 
These days I find the hardest thing is picking my colour combinations.  Here I have used Pacific Point and Old Olive along with Soft Suede. 

I started by creating a mask using Post-its to make my centre piece.  I then sponged in my green and blue.  Once again using the Post-its I masked for my lines.  Opps, forgot to block off my centre masked area so I accidentally spritzed over the area.  Hopefully this will give the illusion of sand.  Works for me anyway!  Then I stamped my shell and freehand I used my marker to finish off the border.  

I know in the sketch there is further embellishment in the corners, but when I tried to place something there it just became too cluttered looking so decided to go without.

Hope you like what I have come up with.  Now it's your turn.  Need more inspiration, then hop on over to the Try Stampin on Tuesday site to see what the other Great Designers have in store for you.  Don't forget to post your creations so that we can all see what you have come up with.

Thanks for stopping by.

Nancy

Your comments mean a lot to me so please remember to leave one.


Saturday, May 25, 2013

Blue Flower Birthday

Todays card started with a sketch from Clean and Simple, just love the sketches they come up with.  Then I always check out the colour combinations over at The Dynamic Duos  and then finally a new one that I found over at Feline Playful Stampin For the Weekend which was to create a Monochromatic card.
  
As soon as I saw the sketch I knew exactly what I wanted to do.  I started by taking a scrap piece of CS and punched out a 1" circle.  I used this as my stencil to create the sponged circles on the card front.  After marking out where the circles were to go I punched a circle part way down the top layer.  Once I had all the circles coloured in with the light blue I took the darker blue and stamped the flower from the Punch Potpourri using the Stamp-a-ma-jig to get my positioning just right.  
Once the card front was complete I positioned it over the card base.  By holding it up to the light I could see where the circles were and I again punched a circle but this time I punched it on the inside of the card front.  


The flower was again stamped inside the punched out area, but with only using the dark blue.  Using a scrap piece of CS I stamped out the sentiment and adhered it using  glue dots to give it a little bit of a wave.

This sketch challenge was a lot of fun and it truly is Clean and Simple.

Thanks for stopping by.

Nancy

Your comments mean a lot to me, so please remember to leave one.


Monday, December 24, 2012

Thank You, Thank You

This past year my Brother and I became Power of Attorney over my Father, which let me tell you is a very big undertaking.  If it was just my Father that we was dealing with it might not be so bad but we are dealing with his new wife and her family as well.

We have had to also take Dad's car away on him and this has therefore put us in the driver's seat so to speak to get him around.  There have been several people that have helped us out over the past few months out of the goodness of their hearts and have asked for nothing in return.  As a simple token of our appreciation I have made these Thank You cards for them.

The first one needed to hold four gift cards so I decided to make a wallet.


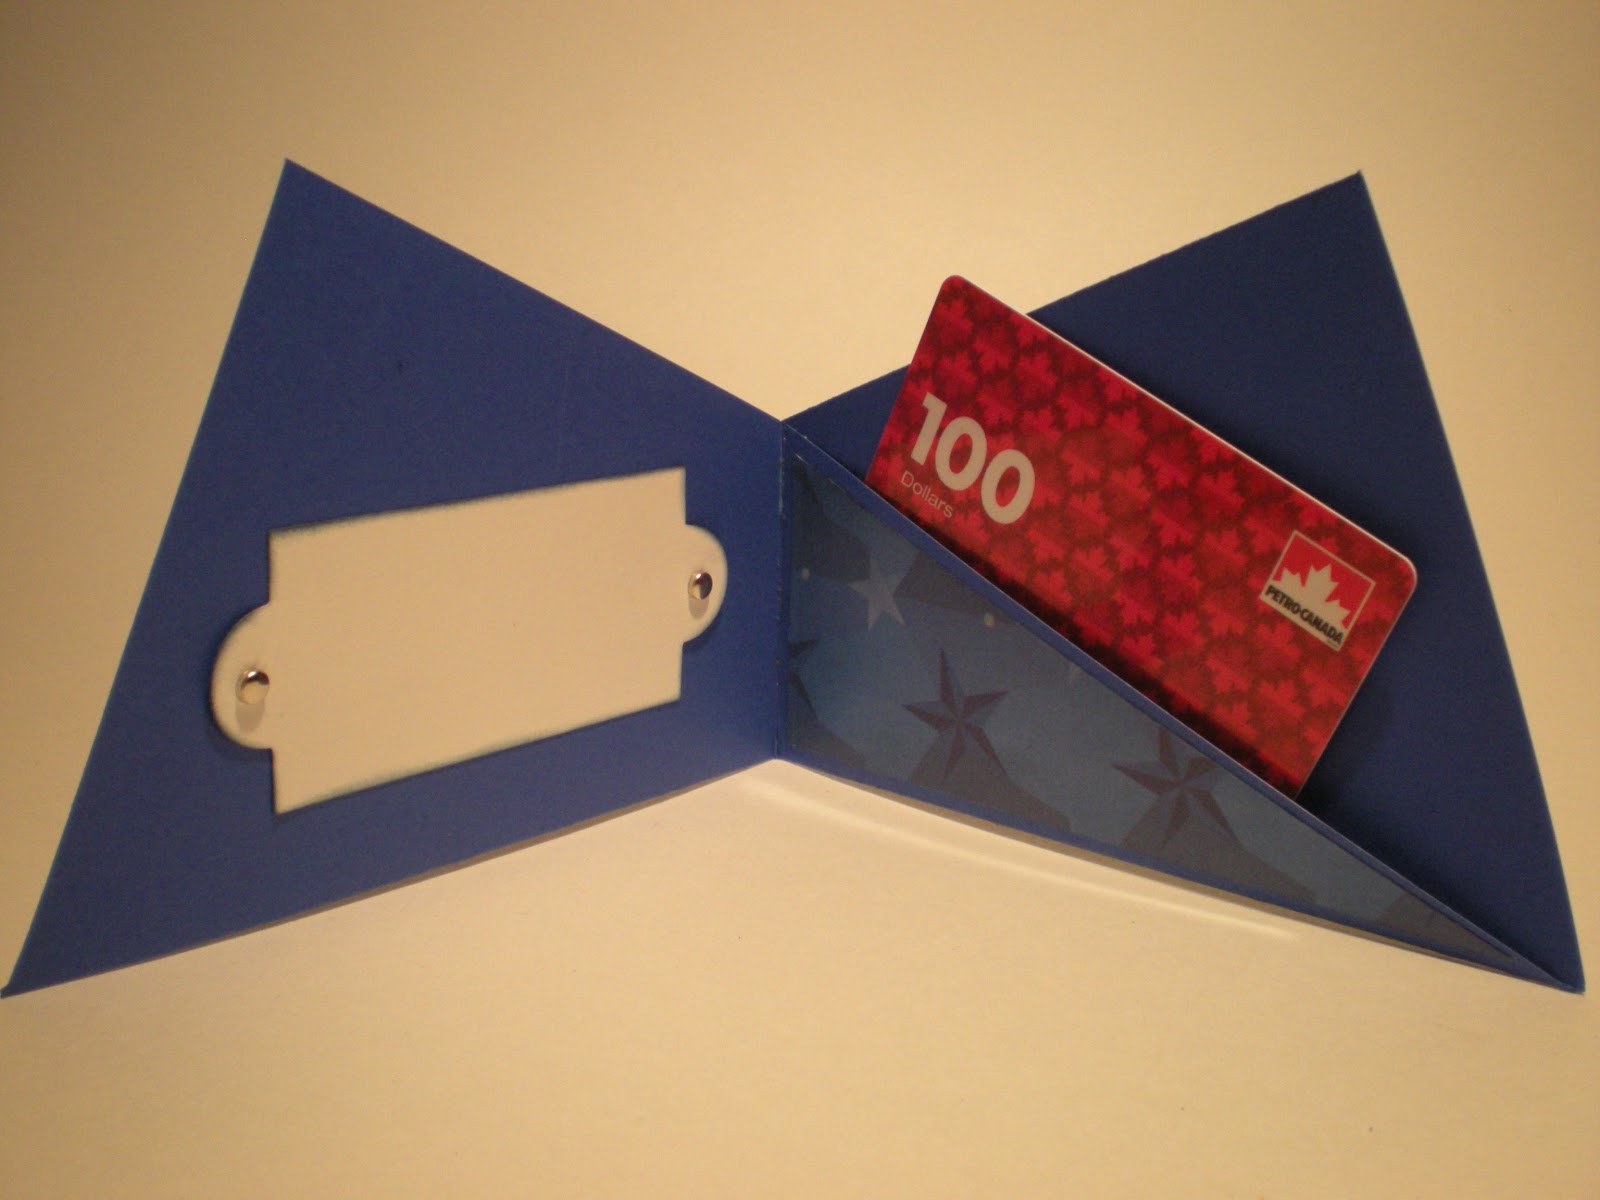
The next one only needed to hold 1 card so I decided to make one of the new gift cards that are all the rage on other sites.  I must admit though once it was made I really was not all that impressed with it but it works.


Thanks for stopping by.

Nancy

Your comments mean a lot to me so please remember to leave one.  


Tuesday, October 23, 2012

TST #89

It's Tuesday, so once again we are back with another great Try Stampin on Tuesday sketch.
Oh the possibilities.  I was going through all the new stamp sets that I had received not long ago and wanted to give one of them a try so I went with Everything Eleanor.  I started with my background and selected my Real Red ink to go along with it.

I stamped the solid piece from Everything Eleanor and then using the Apothecary Accents dies I cut it out.  Of course the die is smaller than the stamp set, so this allows you to choose where you want the discolourations from the stamp set.  This piece was lifted using dimensionals and then the swirl and the "birthday wishes" were adhered under that.  

I stamped two flowers and cut them out, sponging the edges when finished.  One of the flowers I used underneath the other to accent the bottom layer leaf.  With a portion of that flower I also shave cut or feather cut the stamens for the flower and adhered them with Tombow glue.


I love this sketch I think that there are so many possibilities.  To see just how many possibilities there are hop on over to the Try Stampin website and see for yourself. While you are there, don't forget to post your idea for this great sketch.  See you there.

Nancy

Your comments mean a lot so please remember to leave one.

Tuesday, September 25, 2012

TST # 85 Ops or No Ops?

As soon as I saw this weeks challenge at Try Stampin on Tuesday, I knew exactly what I was going to do.


Then once I got started I thought, "bleach effect" so out came the bleach, but my image did not stamp out correctly, therefore leaving the light yellow spots on the strip of paper.
I used another stamp from the same set and with Chocolate Chip I stamped the image over the bleached out section.  Ops, didn't quite take, so I tried to fill it in with my marker, still not luck so I inked it in with a gel pen, ops wrong shade of brown.  Oh well, the end result makes the leaves look like they are floating on the cardstock.  Maybe not an ops!
 
Ok now its your turn.  Try the sketch and let me see what you come up with.  Hop on over to Try Stampin on Tuesday for more inspiration and don't forget to post your card for us all to see.

Thanks for stoping by.

Nancy

Your comments mean a lot so please remember to leave one.

Tuesday, September 11, 2012

TST #83

It's Tuesday so time once again for Try Stampin on Tuesday.  Once again we have a great sketch for you to try.  Although I have to say it stumped me a little and I procrastinated until I was down to the last minute.  


I decided to go with the Gently Falling stamp set once again blending Rich Razzleberry and Old Olive to come up with my leaf.  The background was stamped using the Muscial Notes stamp and then lightly sponged and watermarks added from my all time favourite stamp set French Foliage.

I hope you like what I have come up with.  Now it's your turn.  Hop on over to Try Stampin and see what the other Designers have created to inspire you.  Don't forget to post your card so we can all enjoy your work.

Nancy

Your comments mean a lot to me so please remember to leave one.

Monday, June 25, 2012

Thinking of You Nana

Boy when life throws you a curve you really have to stop and wonder what will be next.

First my husbands bosses Father passes last week and then the Mother of my daughters very close friend was admitted to hospital and now remains in a coma with no hope of recovery.  This family has been very close and near and dear to all of our hearts, but especially to my daughter.  She used to babysit the kids and over the years has become so close with the family that she calls the Mom her "Other Mom".  She even looks like the family..scary thought!

Anyway we are all praying for your Nana.
 Nancy

Your comments mean a lot to me so don't forget to leave one.

Wednesday, April 18, 2012

Butterfly Kisses and Birthday Wishes


I needed a simple but elegant birthday card  and decided to give the Mojo Monday sketch challenge a try. 

I started off with a Whisper White 4 1/4" x 11" and folded to form a landscape card. Then cut a piece of Whistera Wonder 4 1/8" x 5 1/4" and embossed it.  A third layer was added measuring 2 1/4" x 5 3/8".  This layer hangs over the embossed layer by just a touch.  Then again another piece of Whisper White was cut 2 1/8" x 5 1/4".  I purposely punched the holes so that they appeared to fall off the white and then ran this piece though the embosser.  

Now with the base of the card done I used my SU Beautiful Wings embosslit and punched out three(3) sets of butterflies.  Folding two of the butterflies in half I then attached them to the third butterfly.  The third butterfly became the top layer.  By doing this it makes the butterfly look like it is floating on the page.  Each of them was adhered to the punched opening and accented with a pearl.  

Odd numbers are the way for decorating so I used the remaining three tiny butterflies to turn the four larger ones into a total of seven on the card front.  Added a simple "birthday wishes" and ready for the birthday girl! 
I hope you enjoy my interpretation of this sketch challenge.  

Nancy

I like to hear what you think, so please leave a comment.


Tuesday, April 3, 2012

TST #60 Thinking of You


I am so happy with the sketch challenges that we are getting at Try Stampin on Tuesday.  Jen has been working really hard at these sketches and each week she manages to come up with another great challenge.

This week my card is made for a very special person.  A while back a co-worker retired and moved away. Unfortunately retirement has not been kind to her or her family.  Her husband was admitted last week to hospital for a very invasive surgery. Our thoughts and prayers go out to her and her family with this Thinking of You card.
I knew as soon as I saw the sketch I wanted a soft elegance to my card so I started with a Whisper White base and then blended in a light shade of violet. The printed paper was faux stitched around the edges. Vintage Vogue was used to stamp on the front of the embossed label along with So Happy for You. After cutting out the tag using my Spellbinder Five Label Nestibilities I cut out an additional two of the violet and mounted them on to the back of the stamped and embossed front.  The label was raised using dimensionals  and the card was finished off with three small half pearls in the corner.

Yes we are all Thinking of You and hope for the very best!

Hope you enjoy!

Nancy

I like to hear what you think, so please leave me a comment.